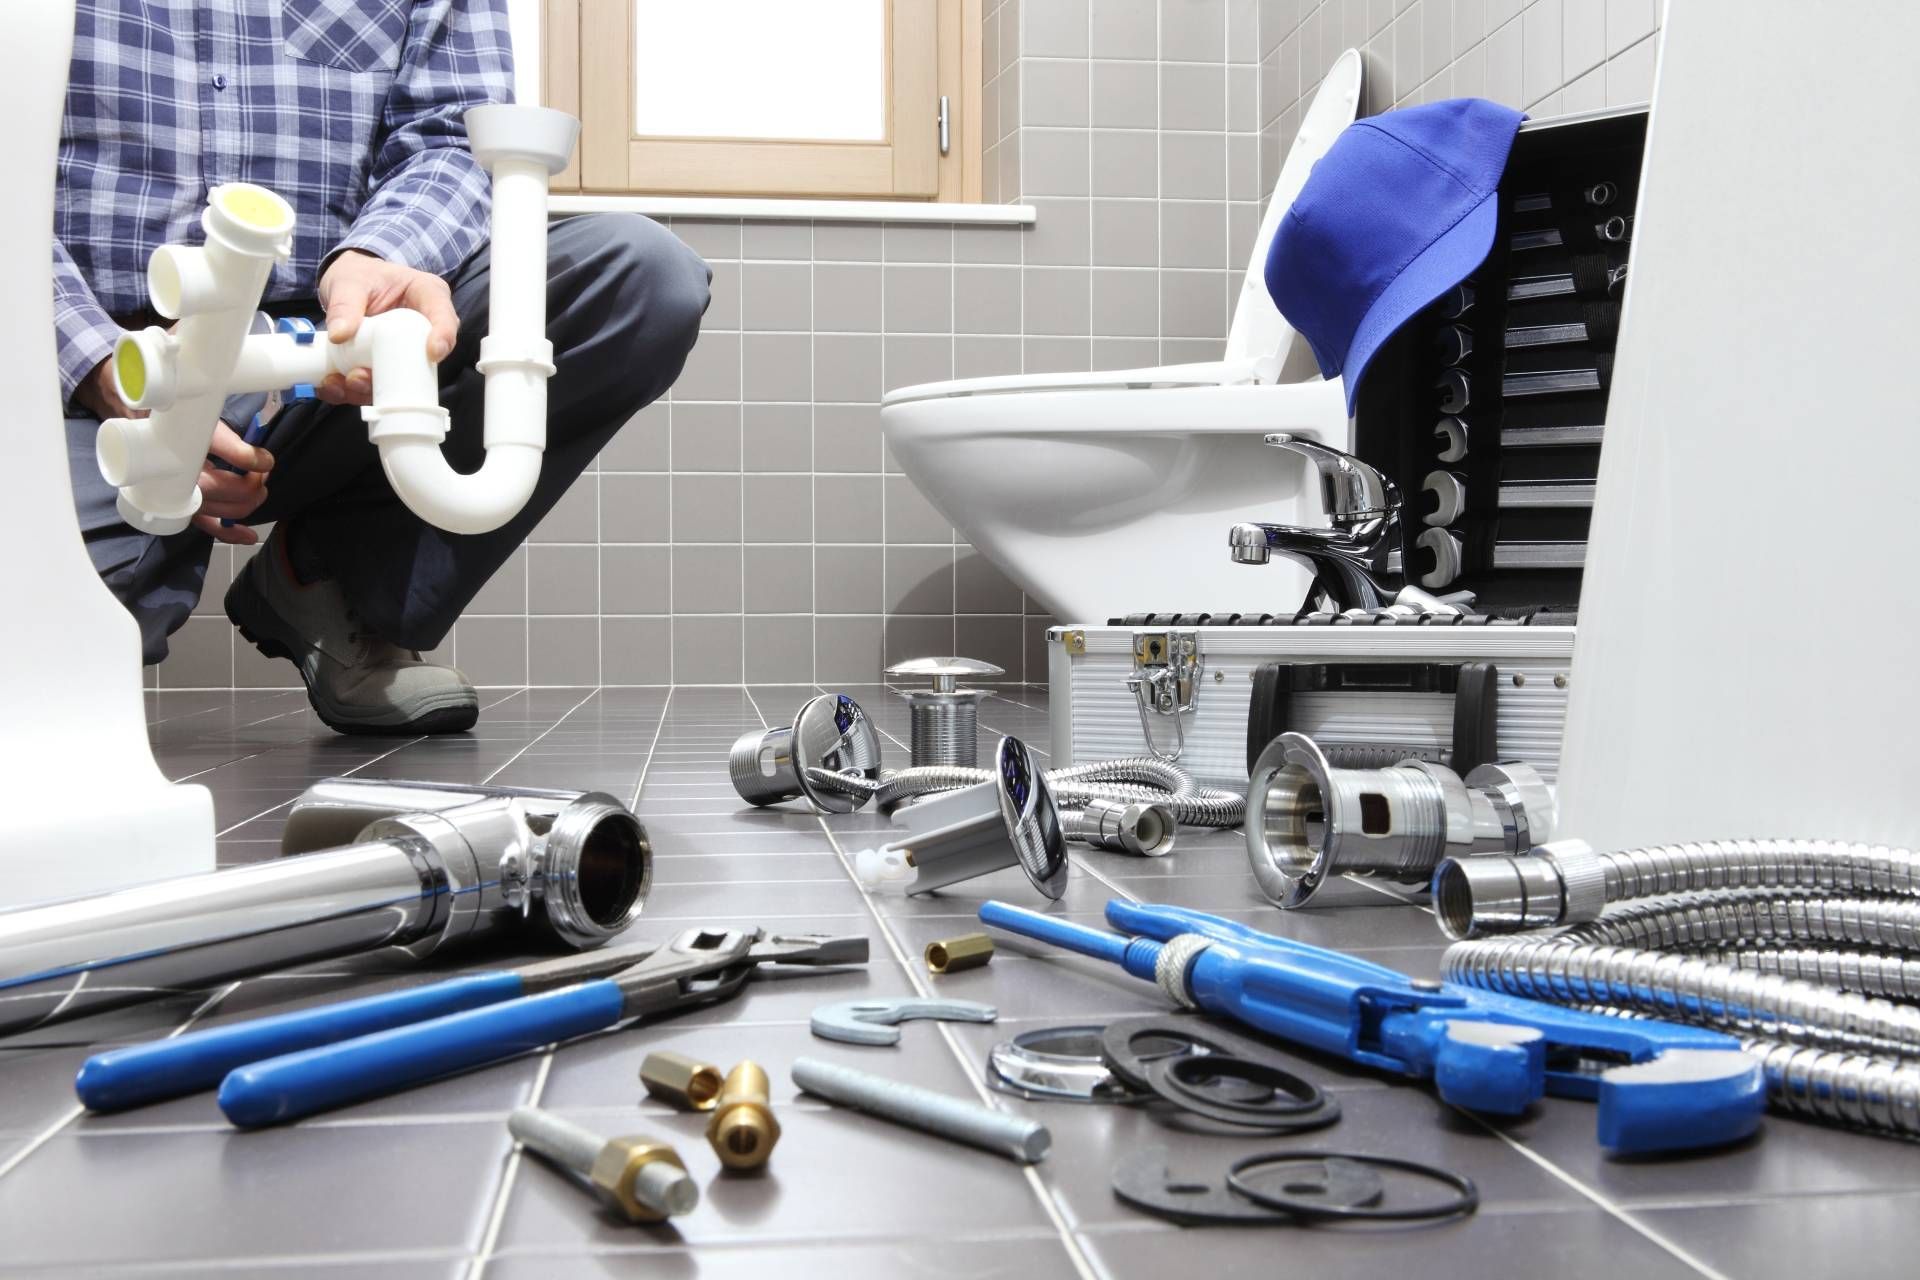
The Seceret Drain on Your Wallet

Your toilet's constant hiss? 🚽 It's not just annoying – it's a money monster!
💸 A running toilet, even a tiny trickle, can gush hundreds, even *thousands*, of gallons of water every month, sending your water bills through the roof! 📈 But here's the good news: the culprits are usually easy fixes: the **fill valve** and the **flapper**. Let's dive in and stop that money drain! 💰➡️🚽
---
The Silent Water Thief: Why Your Toilet is Running 🤫💧
When your toilet keeps running, it means water is constantly flowing from the tank into the bowl, even without flushing. This usually points to one of two main issues:
* **A faulty flapper: 😈** This is the most common troublemaker! The flapper is the rubber or plastic seal at the bottom of the tank. It lifts to let water into the bowl when you flush and then drops back down to create a watertight seal. If it's worn out, it can't seal properly! 😬
* **A malfunctioning fill valve: ⚙️** The fill valve is like the tank's water guardian. It refills the tank after each flush and then shuts off the water flow when the tank is full. If it's not shutting off correctly, water will keep flowing, often trickling down the overflow tube. 🤦♀️
---
How Long Do These Vital Parts Last? ⏳
Knowing the lifespan of these toilet heroes (or villains!) can help you know when it's time for a replacement.
### The Flapper: Your 3-5 Year Hero (or Villain!) 💪👎
Your toilet flapper is usually made of rubber or a flexible synthetic material. It's super important, but also the most vulnerable! You can generally expect a flapper to last between **3 and 5 years**. 🗓️
**Why do flappers fail?** 😫
* **Material Degradation:** Constant swimming in water, exposure to minerals (especially in hard water 🪨), and harsh chemicals in municipal water (like chloramines 🧪) can make the rubber stiff, brittle, or cracked. 💔
* **In-Tank Cleaners:** Those convenient drop-in bleach tablets? **A flapper's worst nightmare!** 😱 They drastically speed up the rubber's deterioration, often cutting your flapper's life in half or even more! ✂️
* **Wear and Tear:** Every single flush means the flapper lifts and reseals, leading to gradual mechanical wear. 🏋️♂️
The Fill Valve: A Longer-Lasting Workhorse (Usually 4-10 Years) 👷♂️✨
The fill valve is a sturdier assembly, built to last longer than the flapper. You can typically expect a fill valve to last anywhere from **4 to 10 years**. 🕰️
**Why do fill valves fail?** 🤔
* **Mineral Buildup:** Hard water can cause mineral deposits to gunk up inside the valve, preventing it from shutting off properly. 🧱
* **Component Wear:** Internal plastic or rubber parts can simply wear out over time, leading to leaks or improper shut-off. 😫
* **Manufacturing Defects:** Less common, but a poorly made valve can fail prematurely. 🏭
---
Why You MUST Fix a Running Toilet (Beyond the Annoyance) 🚫💸
The main reason is simple: **WATER WASTE!** 🌊💸 A continuously running toilet can waste:
* **Hundreds of gallons per day!** 🤯 Even a slow leak can add up to **200 gallons a day**. That's like flushing money down the drain! 💸
* **Thousands of gallons per month!** 😱 You're literally paying for water that goes straight into the sewer! 🤮
* **Significant increases on your water bill!** 💰 What seems like a minor drip can easily add **$20-$100 or more** to your monthly water bill, depending on local water rates. Over a year, that's a **HUGE chunk of change!** 🤯
Beyond the financial hit, fixing a running toilet conserves a precious resource 🌍 and shrinks your environmental footprint! 🌱
---
DIY Repair: How to Change Your Fill Valve and Flapper 🛠️🚽
You don't need to be a plumbing wizard 🧙♂️ to tackle these common repairs. With a few basic tools and some patience, you can get your toilet back in tip-top shape, save water, and keep more cash in your pocket! 🤑
**Before You Start (SUPER IMPORTANT!):** 🚨
* **Turn off the water supply:** Locate the shut-off valve on the wall behind or near the base of the toilet. Turn it **clockwise** until the water stops. ➡️🛑💧
* **Flush the toilet:** Hold the handle down to drain as much water as possible from the tank. ⬇️💦
* **Sop up excess water:** Use a sponge or towel to remove any remaining water from the tank. sponges🧽
Part 1: Replacing the Flapper (The Easier Fix) 🤸♀️
**Tools Needed:**
* New flapper (make sure it's the right type/size for your toilet – bring your old one to the store! 🛒)
* Sponge/towel 🧽
**Steps:**
1. **Disconnect the old flapper:**
* Unclip the chain from the flush lever arm.⛓️
* Carefully unhook the flapper's "ears" or "posts" from the pegs on the overflow tube (this varies slightly by flapper type). Some flappers slide off a pipe.👂
2. **Install the new flapper:**
* Attach the new flapper's ears/posts to the pegs on the overflow tube, ensuring it sits flat and forms a good seal over the drain hole. ✅
* Connect the flapper chain to the flush lever arm. Leave a little slack (about 1/2 to 1 inch) in the chain so it doesn't get caught, but not so much that the flapper doesn't lift completely.🤏
3. **Test:** Turn the water supply back on. Let the tank fill, then flush a few times to ensure the flapper seals properly and the toilet stops running. 👍
Part 2: Replacing the Fill Valve (A Bit More Involved, but Doable!) 👷♂️💪
**Tools Needed:**
* New fill valve (universal models are widely available 🌐)
* Adjustable wrench or channel locks 🔧
* Bucket 🪣
* Sponge/towel 🧽
**Steps:**
1. **Disconnect water supply and drain tank** (as described in the "Before You Start" section). 🛑💦
2. **Disconnect the supply line:** Place a bucket under the toilet's fill valve connection. Using your wrench, carefully loosen the nut connecting the water supply line to the underside of the fill valve. Be prepared for a small amount of water to drain out. 💧➡️🪣
3. **Remove the old fill valve:**
* Inside the tank, unscrew the large nut at the base of the fill valve (where it connects to the tank). 🔩
* Lift the old fill valve straight out of the tank. ⬆️
4. **Install the new fill valve:**
* Insert the new fill valve into the hole at the bottom of the tank.
* From the underside of the tank, thread the large mounting nut onto the fill valve and tighten it securely by hand, then snug it with your wrench (don't overtighten!). 🤝🔧
* Adjust the height of the fill valve according to the manufacturer's instructions. The critical part is that the top of the overflow tube (part of the flush valve) should be at least 1 inch below the critical level mark (CL) on the fill valve, or 1 inch below the fill valve's water level adjustment screw. This prevents siphoning of tank water into your fresh water supply.📏
* Attach the refill tube (small hose) from the fill valve to the overflow tube. hose
5. **Reconnect the supply line:** Carefully reattach the water supply line to the new fill valve, tightening the nut with your wrench. 🔧
6. **Test:** Slowly turn the water supply back on. Allow the tank to fill. Check for any leaks at the connections. Flush the toilet several times to ensure the new fill valve fills the tank to the proper level and shuts off completely. You may need to fine-tune the height adjustment. ✅
---
Don't let a running toilet silently drain your resources! 💸 By understanding how long these parts last and knowing how to replace them, you're empowered to tackle this common household issue, save water, and keep more money in your pocket! 💰🥳
What's the next DIY project on your list? Tell me below! 👇
Blessings!


